Go back to Pistis.io
Instructions to use Pistis.io
Click on any instruction below to view it's details:
Step 1. Click here to Sign Up.
Step 2. Select "Individual User" or "Organization / Business User" as shown below:
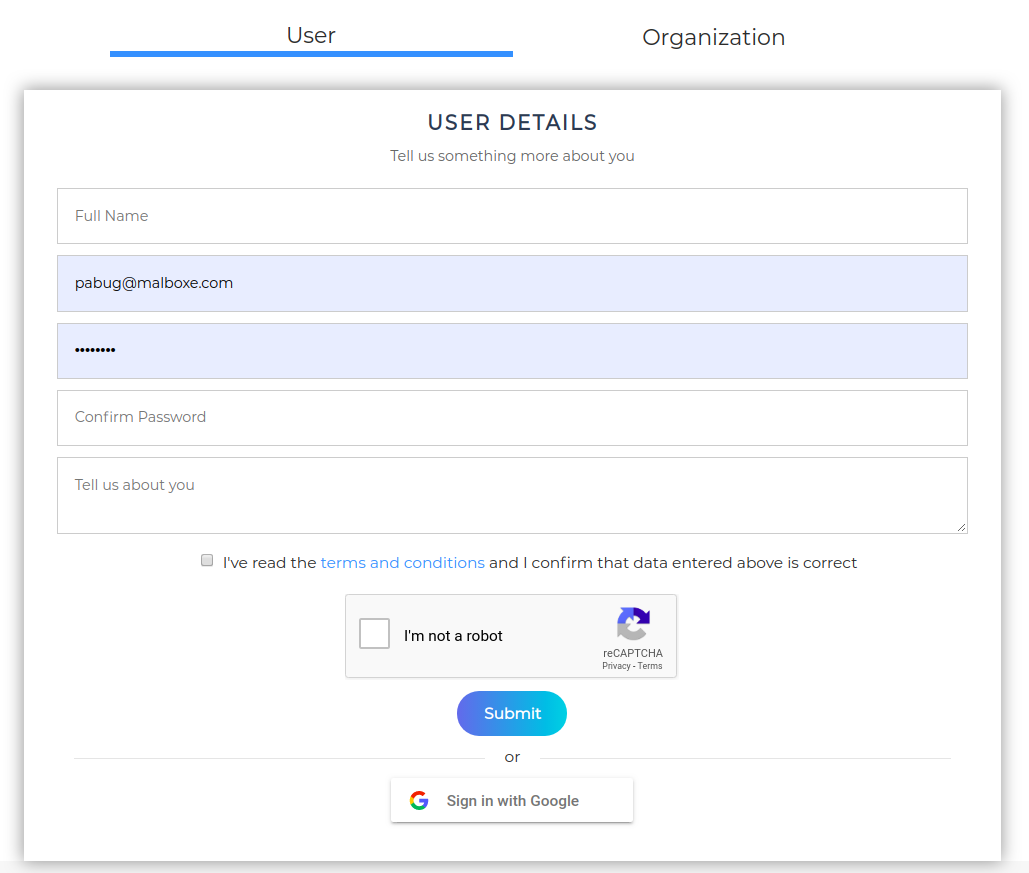
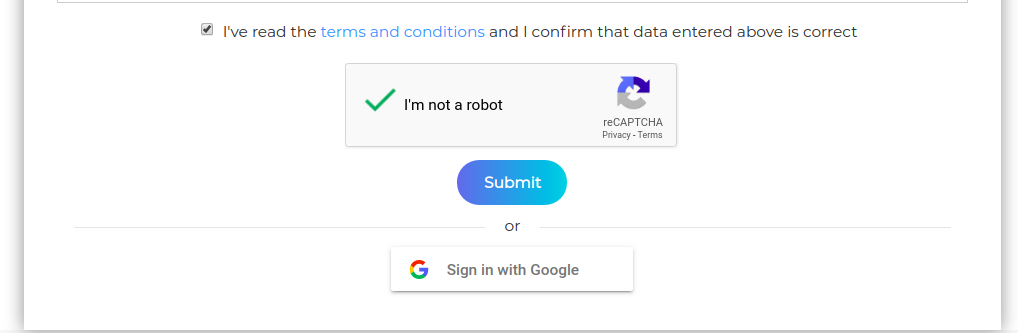
Step 3. Fill out the Registration Form and do not forget to check the Terms and Conditions Box and the Recaptcha as shown below:
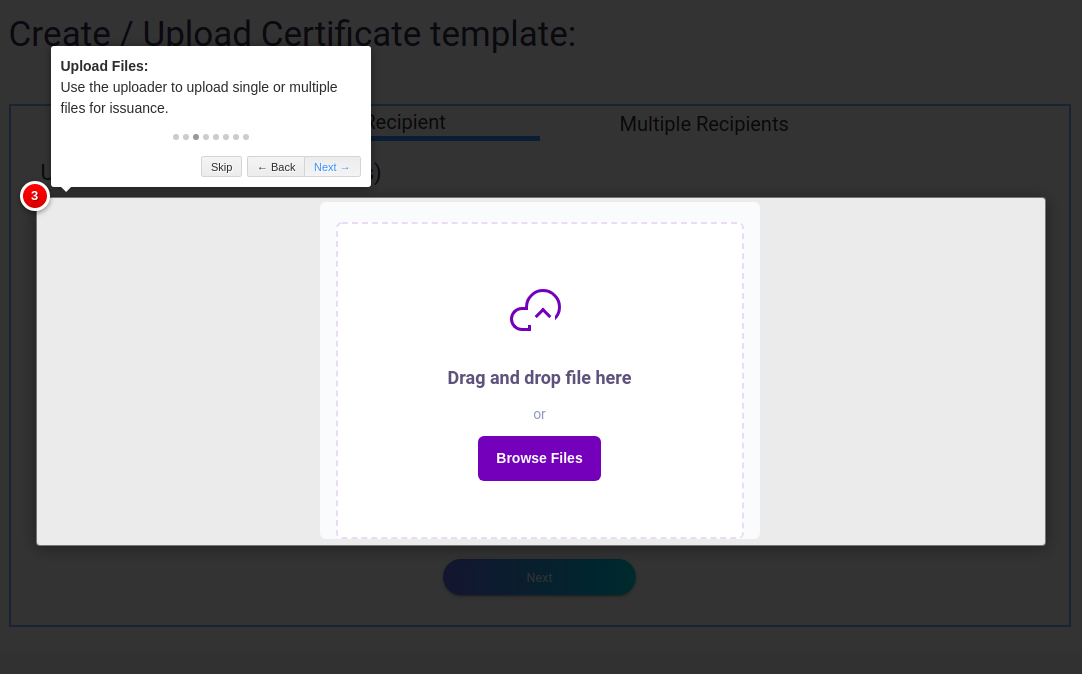
Step 1. Navigate to "issue certificate" in dashboard and use the "Single Recipient" box to upload single/multiple documents of any format.
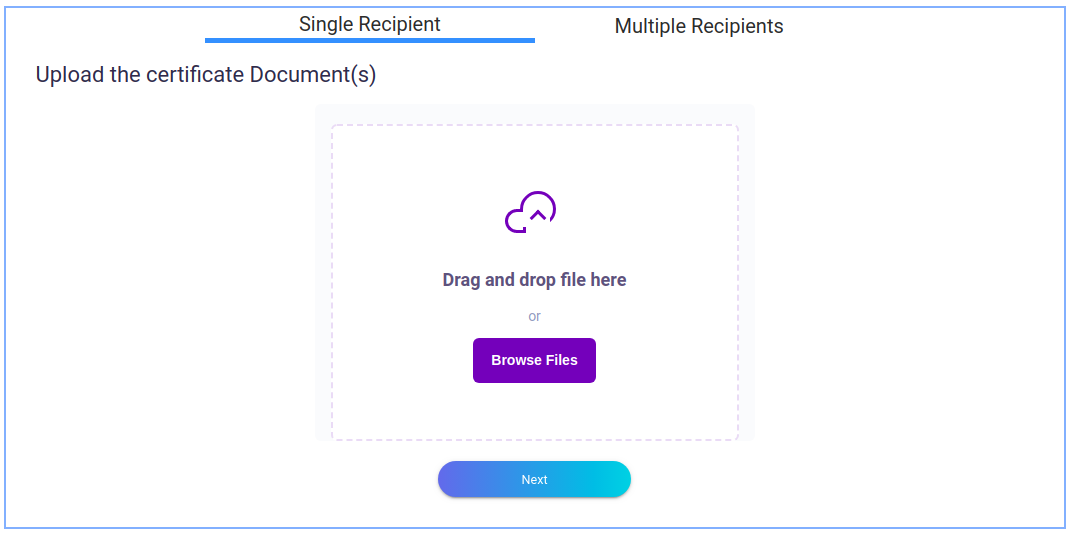
Step 2. Click on the Browse files button to Upload your certificate.
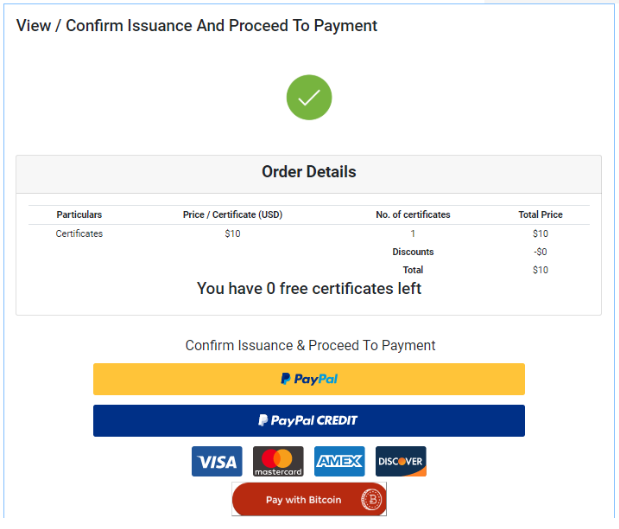
Step 3. After you uploaded certificate template, click on “Next” to
continue to the Payment page. If this is the first time you use Pistis.io, you will get
a free certificate issuing without paying any fee. If you have used up the free
certificate issuing, you’ll need to pay the amount that is showing on the screen.
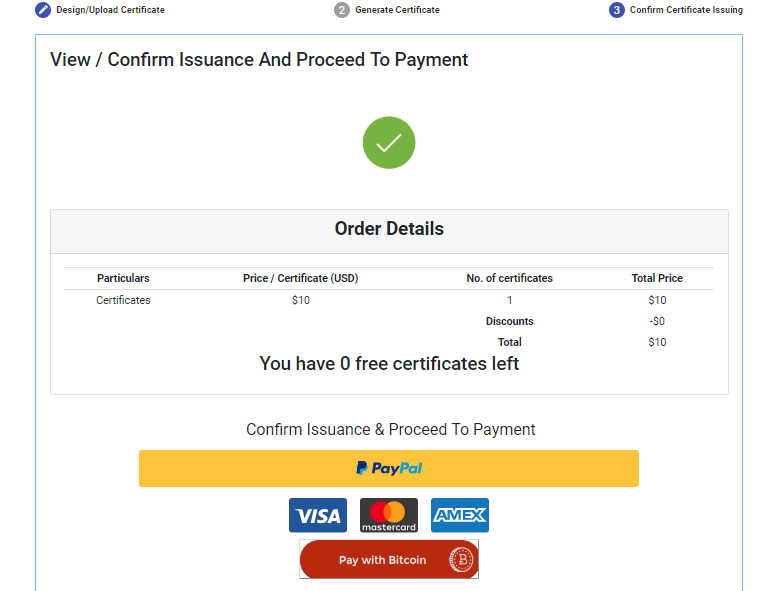
Step 4. Once you have made the payment, your certificate will be automatically
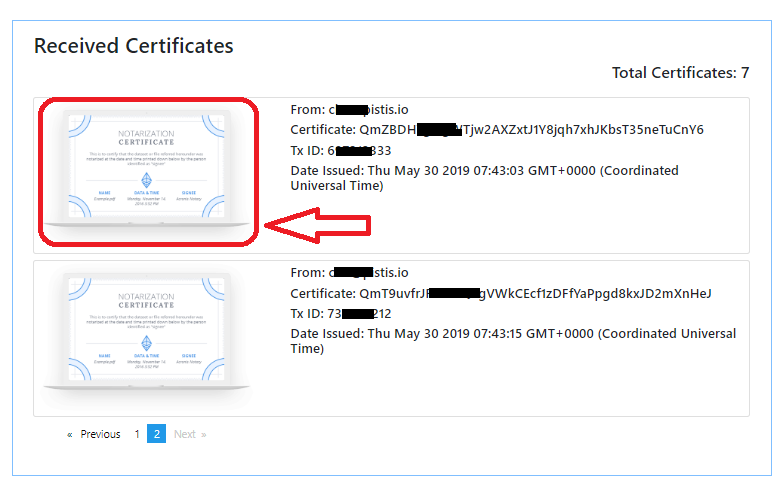
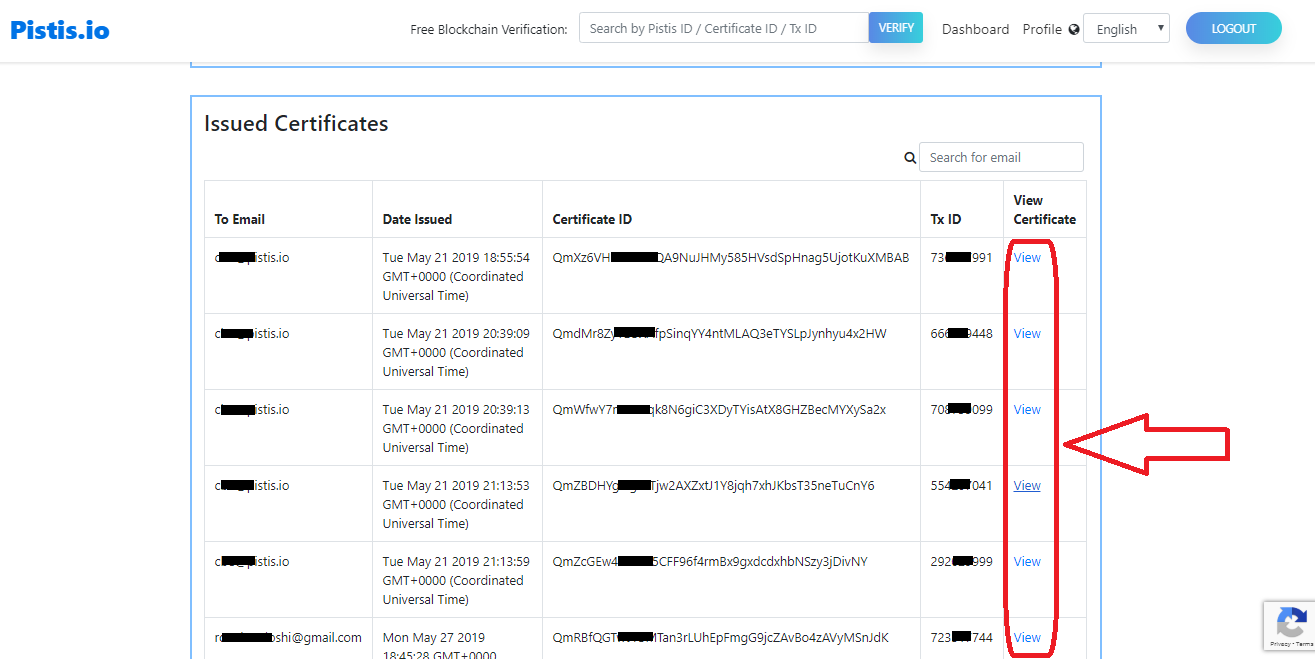
issued on Ethereum Blockchain. The certificate that you have just issued will be
showing in your Profile. You can click on View in "Issued Certificates" section to see the certificates you have
issued OR click on the certificate thumbnail in "Received Certificates" section.
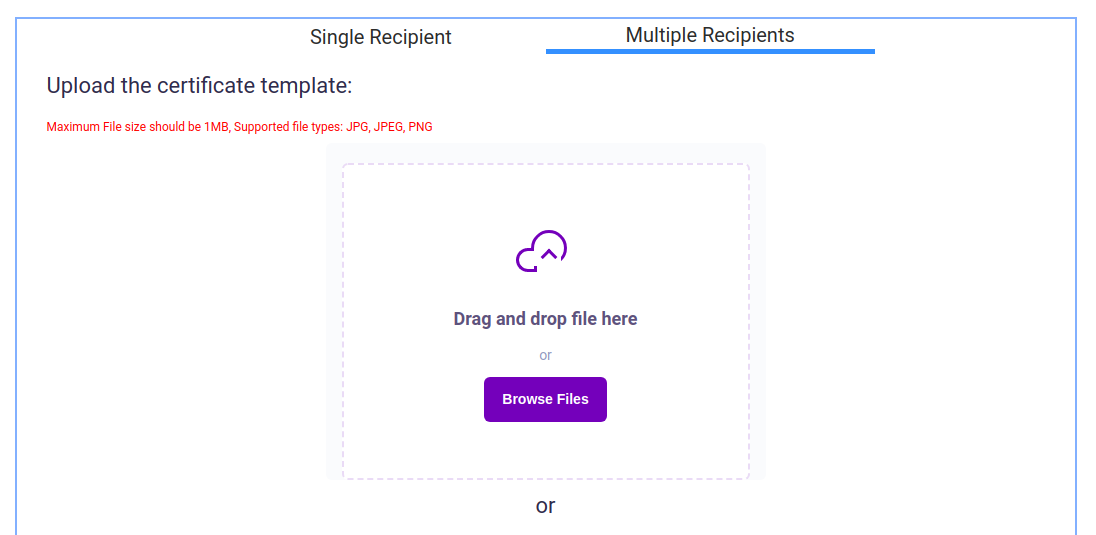
Step 1. Use the "Multiple Recipient" tab to upload or create a certificate template and
issue the certificate for multiple recipients. For best results, kindly use template with resolution-width less than 1024 pixels.
OR
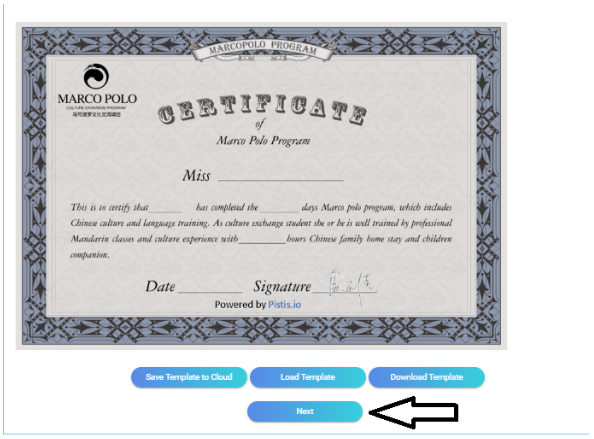
Step 1. You can also use this online WYSIWYG editing tool to design and create your
own certificate on Pistis.io.
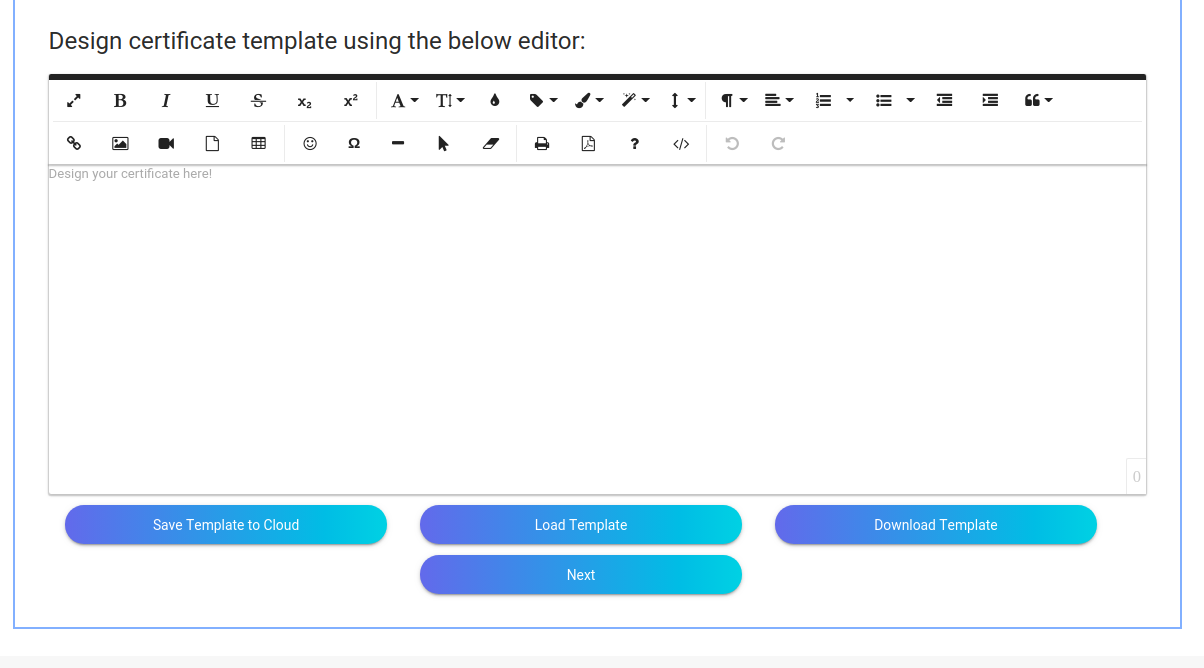
Step 2. After you uploaded or created the certificate template, click on “Next” to
continue to the data integration page.
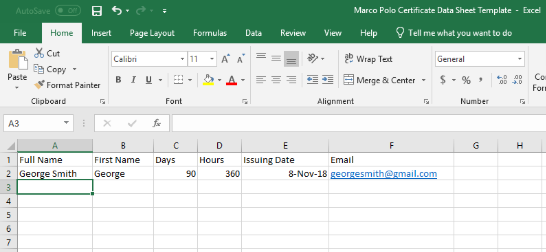
Step 3. In order to issue a certificate to multiple recipients, you need to create an Excel
spreadsheet document first. You need to match the columns in the spreadsheet
with the data fields in your certificate template. The first row is the heading and
the last column is generally for the emails of the recipients. Please see the sample
document as shown below:
Step 4. Upload the spreadsheet document, and then carefully create data boxes
on your certificate template, making sure that the data boxes are following the
columns in the spreadsheet document. This is because the first data box you
draw will pull the data from the first column, and so on so forth.
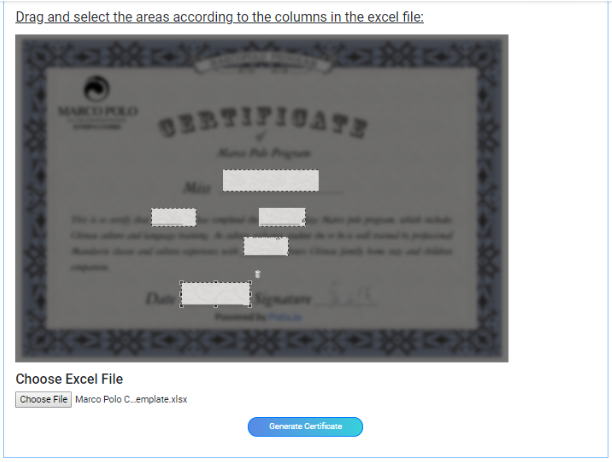
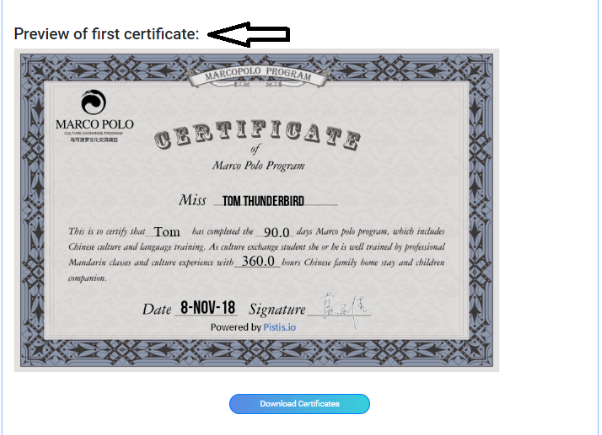
Step 5. Once you are satisfied with the data fields, you can click on Generate Certificate.
The final design has been generated for your preview, please check carefully to
verify that every piece of information is stated correctly because after the
certificate is issued on blockchain, it cannot be changed.
Step 6. If this is the first time you use Pistis.io, you will get a free certificate issuing
without paying any fee. If you have used up the free certificate issuing, you’ll
need to pay the amount that is showing on the screen.
Step 7. Once you have made the payment, your certificate will be automatically issued on
Ethereum Blockchain. The certificate that you have just issued will be showing in
your Profile. You can click on View to see the certificates you have issued.
Step 8. The recipients will be notified of the newly issued certificate and view it by
clicking on the link in the email.
- Issuing Certificates to yourself or multiple recipients on blockchain.
- Receiving Certificates.
- Verifying Certificates.
- Free Universal Blockchain ID (Pistis ID).